What Are The 7 Steps To Breaking In That New Baseball Glove in 2025?
How to Turn Stiff Leather Into Game-Ready Gold
Every ballplayer knows: the best glove isn’t about the brand or the price—it’s about the fit.
And the secret to that perfect fit? Breaking it in.
A factory-fresh glove might look great, but it won’t feel right until it molds to your hand, softens up, and starts working with you—not against you.
If you’ve just picked up a new mitt to kick off your 2025 season, you’re in the right place.
This guide will walk you through every step to transform that stiff leather into a glove that feels like a natural extension of your hand.
Why Breaking In Your Glove Matters
Think of it like this: an unbroken glove is like a new pair of stiff boots—uncomfortable, uncooperative, and unforgiving.
But a well-broken-in glove? That’s your favorite pair of sneakers—molded, responsive, and reliable.
When your glove fits just right, your reactions are faster, your catches are cleaner, and your confidence skyrockets.
Let’s get to work.
DISCLAIMER
This page contains affiliate links and I earn a commission if you make a purchase through one of the links, at no cost to you. As an Amazon Associate I earn from qualifying purchases.
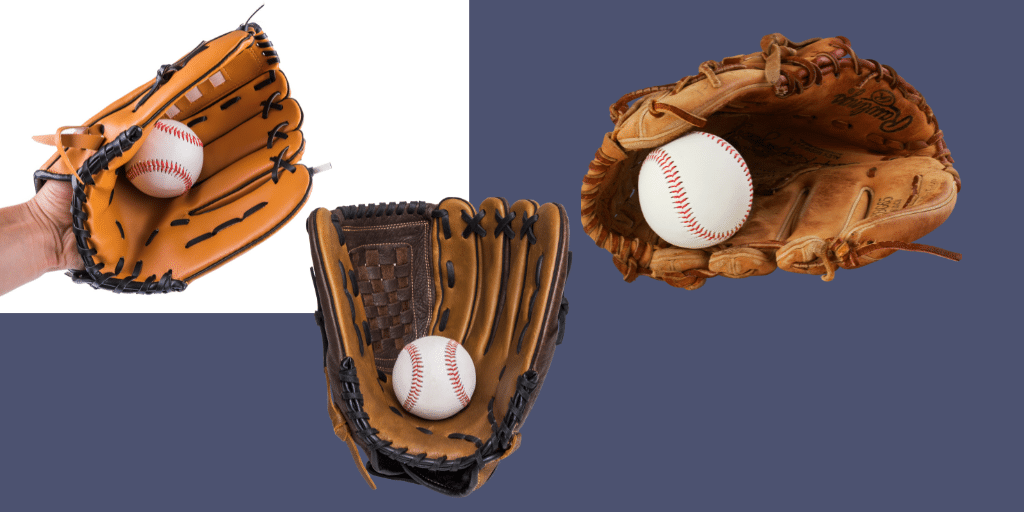
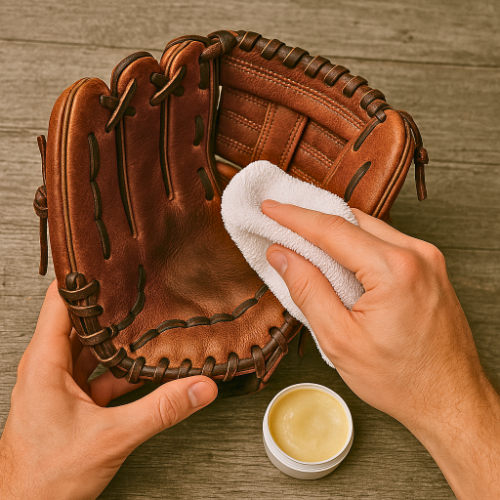
1. Apply Glove Conditioner or Oil (Sparingly!)
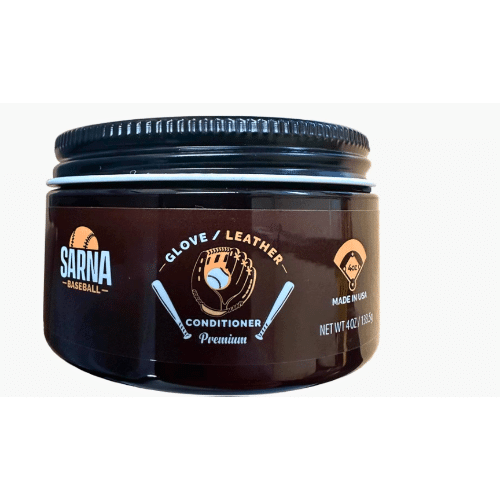
Start by applying a small amount of glove conditioner or oil made specifically for baseball gloves.
This helps soften the leather and prevent cracking. Less is more—a light coat will do the trick.
🧴 Pro Tip: Focus on the palm, webbing, and hinges—these areas take the most impact.
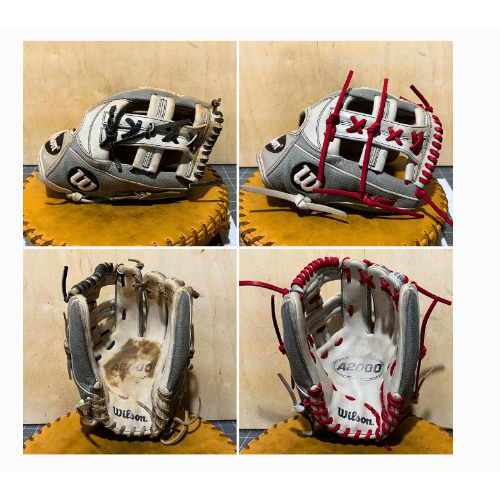
2. Work the Leather With Your Hands
Don’t be afraid to get hands-on. Flex the fingers, squeeze the pocket, and bend the heel. Do this while watching TV or during downtime. The more you handle it, the faster it forms to your hand.
👋 Your hands are the best tool for building glove memory.
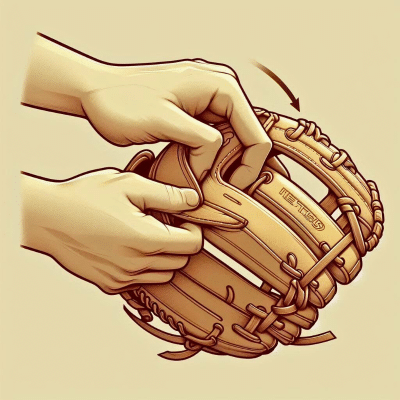

3. Shape the Pocket With a Ball
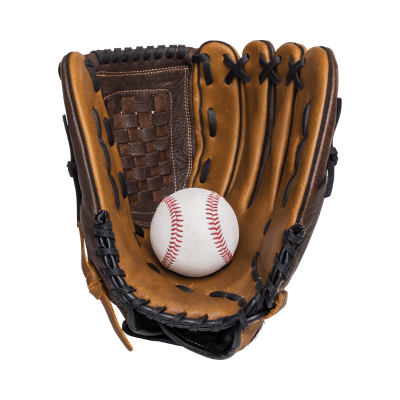
Put a baseball (or two, for a deeper pocket) where you want the glove to naturally close.
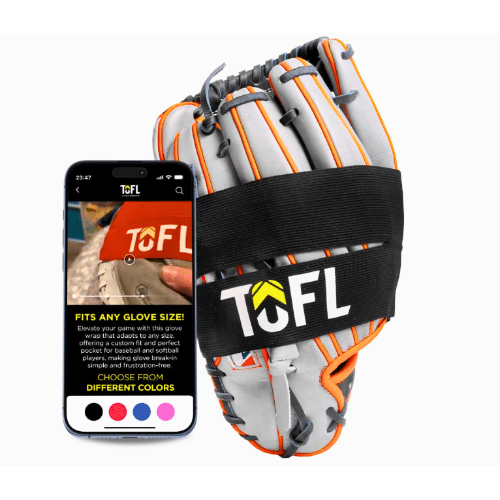
Wrap it tightly with rubber bands, string, or a glove wrap and leave it overnight.
📆 Do this for several days to help the glove “remember” its ideal catching shape.
4. Play Catch—Often

Now for the fun part. The single best way to break in your glove is to use it.
The repeated motion of catching baseballs helps the glove form to your playing style. It’s not just about the pocket—it’s about how the glove moves with you.
🎯 There’s no shortcut here—reps matter.

5. Use a Mallet or Glove Hammer (Optional, But Effective)
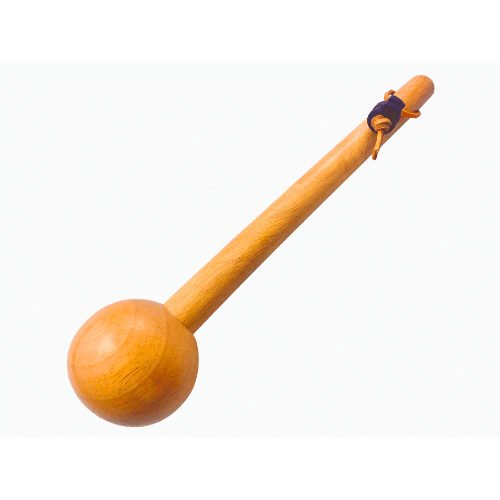
To speed up the process, consider using a glove mallet or a ball-shaped hammer. Focus on the pocket, heel, thumb, and pinky hinges—these are usually the stiffest parts.
🔨 Close the glove as if catching, then hammer down on the fold points to loosen them up.

6. Store It Properly Between Sessions

Don’t just toss your glove in your gear bag.
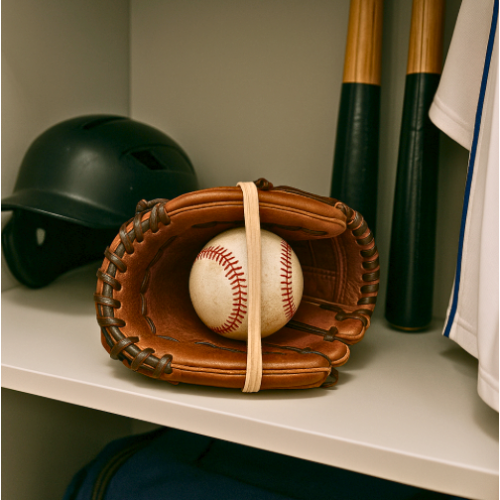
Keep a ball in the pocket, wrap it back up, and store it in a cool, dry place—away from sunlight or heat.
📦 Proper storage maintains the shape and extends the life of your glove.
7. Keep It Game-Ready With Maintenance
Even after breaking it in, your glove needs love.
Wipe off dirt, condition the leather occasionally, and inspect the laces regularly.
🛡️ A little maintenance goes a long way—your glove can last for seasons (or decades!) with proper care.
💬 Glove Steamer vs DIY
There’s often debate among ballplayers about whether steaming a glove or sticking to the DIY method is best for breaking in a new mitt. Here’s the breakdown:
Glove Steamer vs. DIY: What’s Better?
Glove Steamer 🔥
- Pros: Fast, even softening. Great for quick break-ins.
- Cons: Less personalized feel. Best followed up with manual shaping.
DIY Method 🛠️
- Pros: Fully customized. Builds a personal bond with your glove.
- Cons: Takes more time and effort.
💡 Verdict: If you’re short on time, go with the steamer. But if you want your glove to feel like part of you, DIY is the way to go.
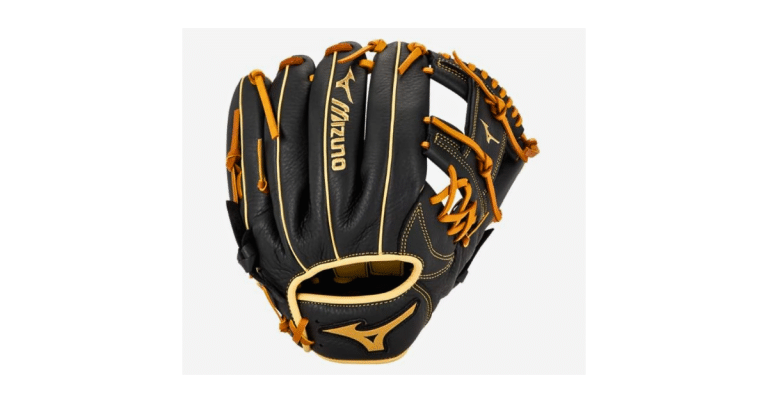
7 Steps To Breaking In That New Baseball Glove in 2025
Frequently Asked Questions
Can I use hot water to soften the glove?
No—hot water can damage and dry out the leather. Use warm water sparingly if needed.
How long does it take to break in a glove?
Typically 2–4 weeks with regular play and care.
Should I use oil or conditioner?
Yes, but lightly. Too much can make your glove heavy or greasy.
Why wrap a glove with a baseball inside?
To mold and preserve the pocket’s shape around the ball.
Is steaming a glove safe?
Yes, if done professionally. But follow up with manual work to fine-tune the fit.
What’s the best way to store it post-break-in?
Cool, dry place with a ball in the pocket. Avoid heat and moisture..
Final Thoughts—Take the Field with Confidence
Breaking in a baseball glove isn’t just a task; it’s a rite of passage.
Every squeeze, stretch, and throw brings the glove closer to being that perfectly broken-in masterpiece that fits like an extension of your hand.
Follow these seven steps, and you’ll not only be game-ready but catch-ready no matter where you are on the field.
And remember, the best glove is one that feels like it was made just for you.
Get to work, punch that pocket, and don’t forget to play an extra round of catch—your glove will thank you


Awesome https://is.gd/N1ikS2
Thanks
Awesome https://is.gd/N1ikS2
Thanks
Very good https://is.gd/N1ikS2
Thank you!