How to Spot and Correct Bad Throwing Mechanics Early
When a young player makes a throw, it should feel natural-but often, it doesn’t.
Airmail throws. Wobbly accuracy. The occasional wince. These are signs something’s off with their mechanics.
As a coach or parent, recognizing these early can make all the difference.
In this post, we’ll break down why poor mechanics happen, how to spot them, and-most importantly-how to fix them with simple, effective tweaks.
No advanced degrees required. Just a watchful eye, a little consistency, and a shared goal: helping our kids play the game the right way.

👀 Hook ‘Em Early
You know the throw I’m talking about.
The one that sails over the first baseman’s head.
Or hits the dirt halfway to home.
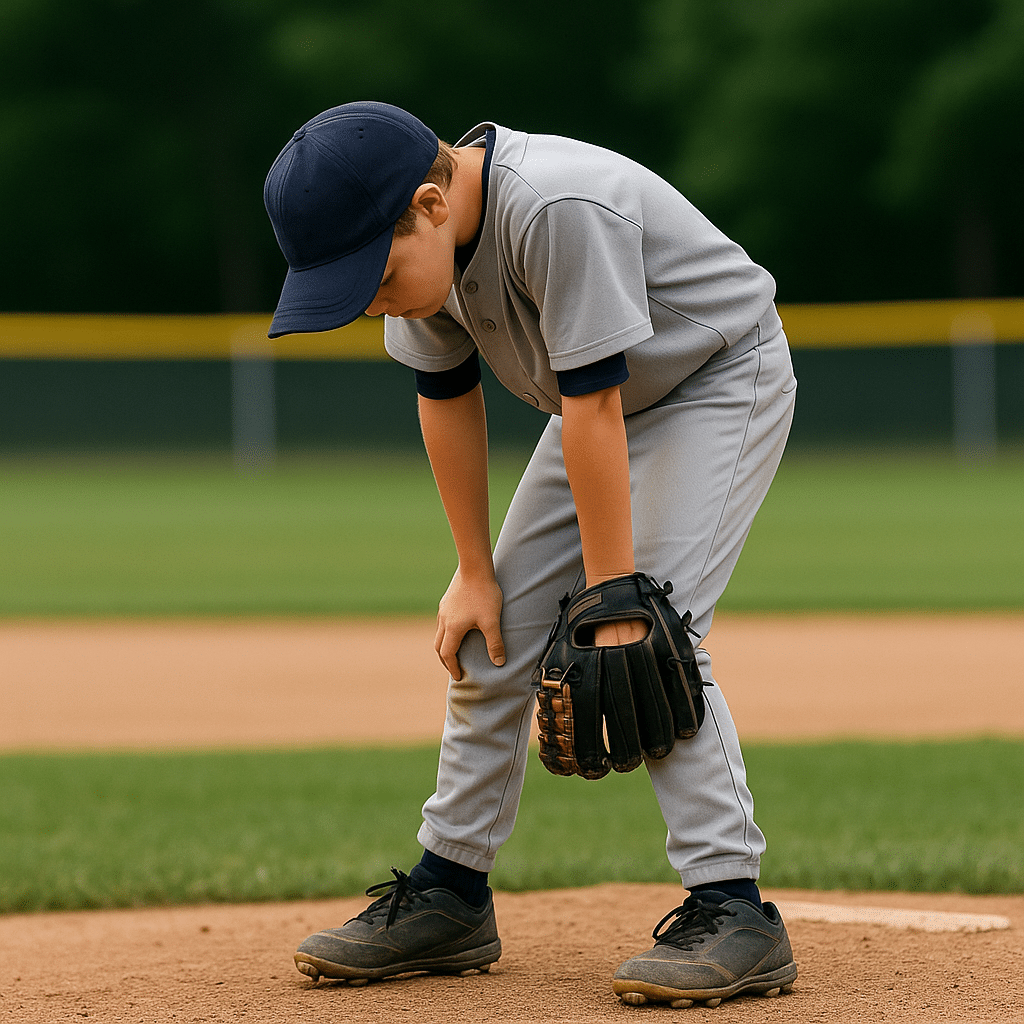
Or worse-the one that leaves your child rubbing his shoulder.
Poor throwing mechanics are sneaky. They don’t always scream “injury risk” at first. But left unchecked, they can mess with accuracy, zap velocity, and cause serious problems down the road.
The good news: you can catch them early-and fix them fast.
It starts with understanding the root causes. Once you know what to look for, spotting a mechanical issue becomes as obvious as a batter crowding the plate.

⛑️ What’s Really Going On?
Youth players grow fast. Their bodies are constantly adjusting.
What felt natural at age 8 might be all wrong by age 10.
As bones grow and muscles try to keep up, mechanics can fall out of sync.
One season they’re zipping balls across the diamond-next thing you know, they’re overthrowing, short-arming, or compensating in ways that lead to bad habits or injury.
These habits often show up because:
- Kids copy big leaguers with completely different body types
- They try to throw hard without warming up
- No one ever showed them how a healthy motion should feel
Since young players often get praise just for getting the ball there, technique gets overlooked-until something starts to hurt.
A shortstop throwing sidearm might look cool-until they start wincing every inning.
It’s not about perfection. It’s about being safe, efficient, and consistent.
📈 How Mechanics Shift by Age
Ages 6–8: Players are learning basic coordination. Throws often look like push motions. Now’s the time to shape clean arm paths with fun cues and drills.
Ages 9–12: Growth spurts start to mess with balance. You’ll notice more dropped elbows, awkward arm slots, and signs of fatigue.
Ages 13–15: Strength catches up—but so does bad muscle memory. Players throw harder, but with poor mechanics, the risk of injury rises fast.
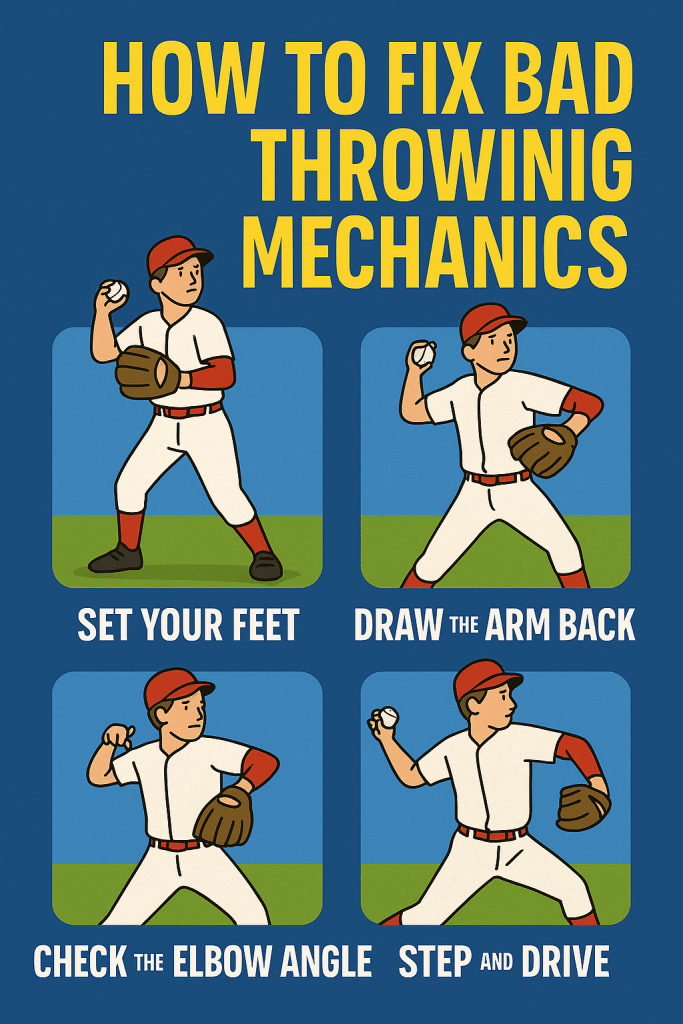
4 Ways to Fix Poor Throwing Mechanics
✅ Tip #1: Watch the Arm Path
Take a look at how your player brings the ball back.
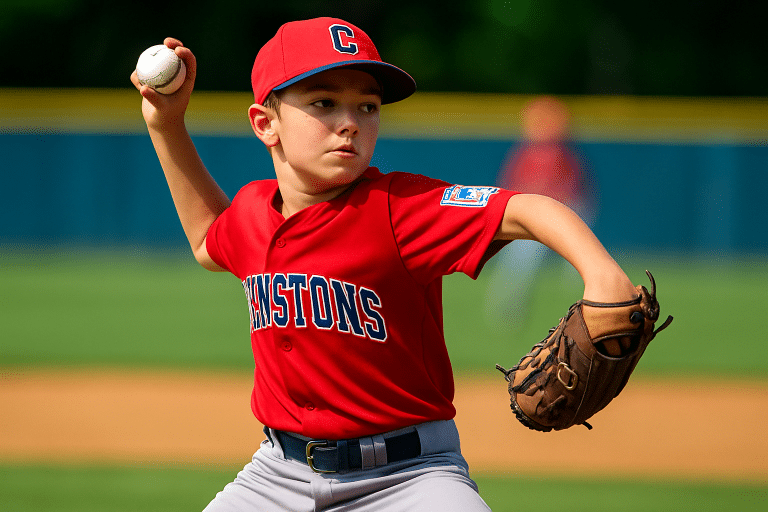
If the elbow drops below shoulder level or the arm wraps too far behind the back, it’s a red flag.
Try this cue: “Thumb to thigh, ball to the sky.”
You’re aiming for a clean, compact arm path that protects the shoulder and builds repeatable accuracy.
✅ Tip #2: Focus on Front Side Stability
Is the glove-side arm flailing or pulling across the body?
That’s a recipe for misfires and arm drag.
A firm front side keeps the body aligned and the throwing arm on time.
If the chest opens too soon, the arm lags—and throws suffer.
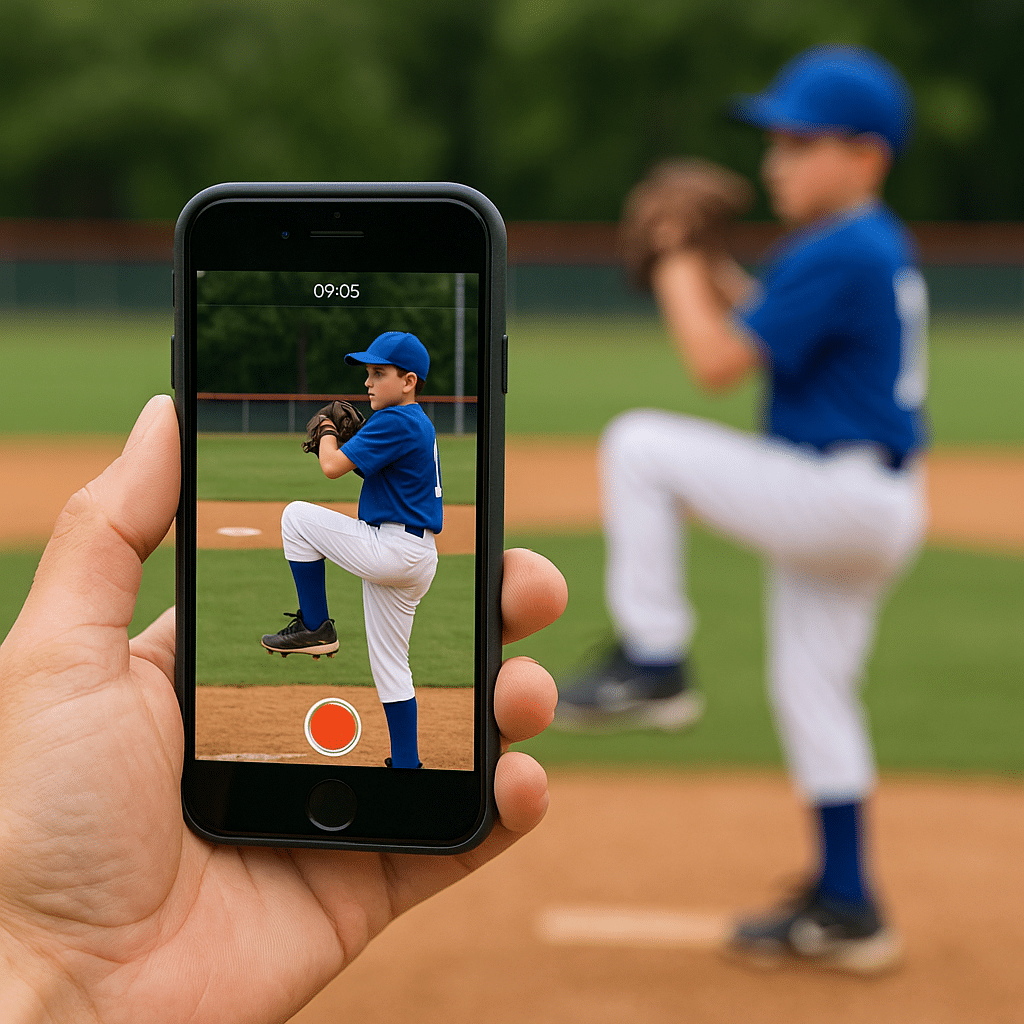
✅ Tip #3: Use Video (Even Just a Phone)
Record a few throws from the side and behind.
Then slow it down and review frame-by-frame.
What to watch for:
- Arm lag
- Stride foot timing
- Posture or over-rotation
You’ll catch breakdowns you’d never notice in real time.
✅ Tip #4: Start with the Wrist Flick Drill
Have your player kneel and throw from one knee—just using wrist and forearm motion.
This drill removes the lower body from the equation and reinforces proper hand position and release.
It’s also a perfect warm-up drill to protect the shoulder and build control.
With consistent reps, these tips build not just better mechanics—but confidence.
Encourage and keep the focus on form over force.
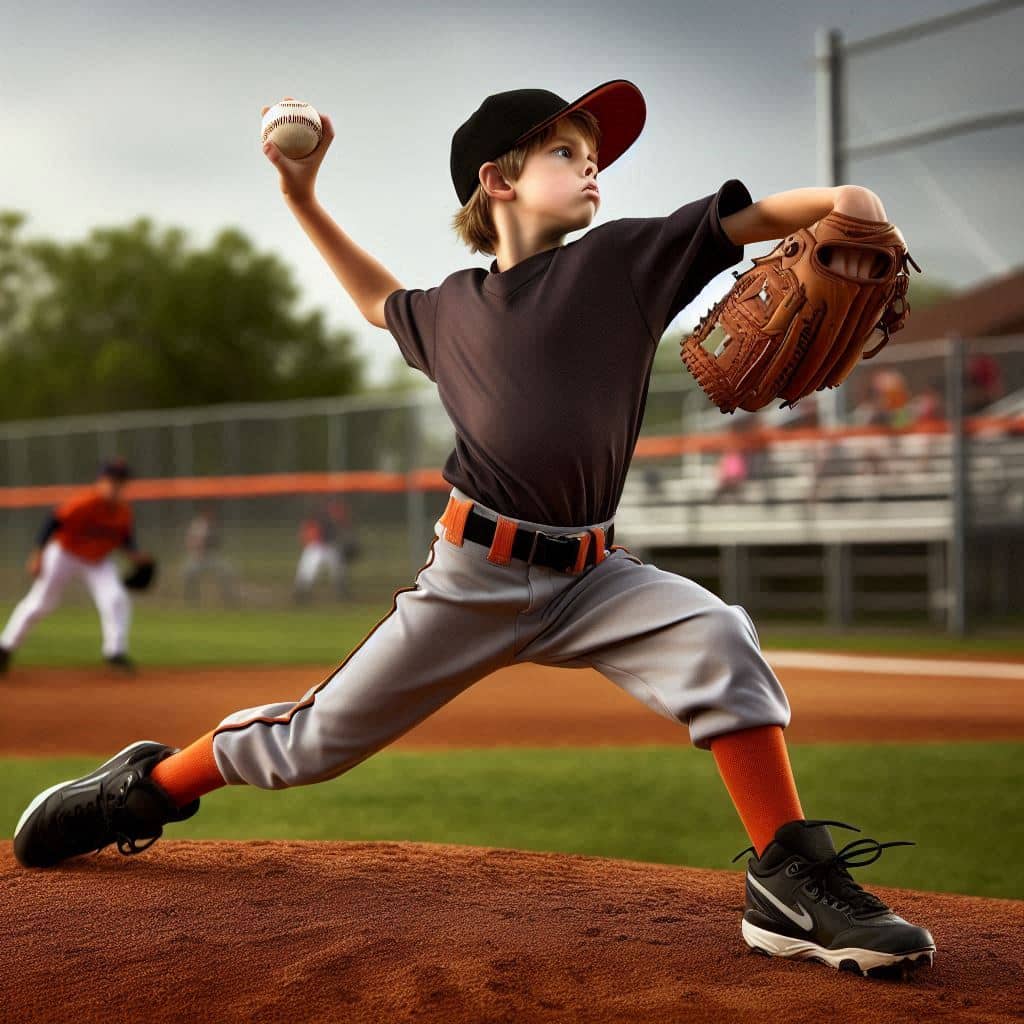
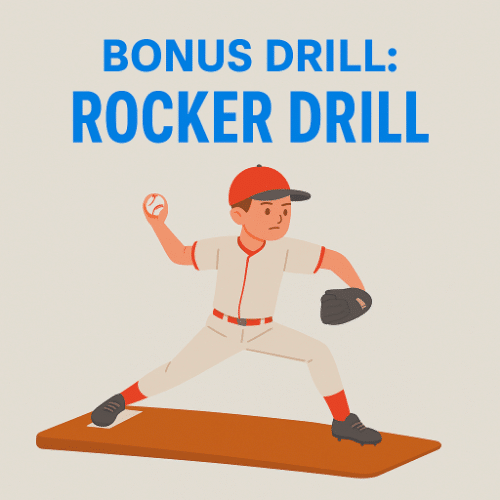
🧪 Bonus Drill: The Rocker Drill
Once the arm path is cleaned up, the Rocker Drill is great for syncing the upper and lower body.
How to do it:
- Start in a split stance (like you’re mid-stride)
- Gently rock forward and back
- Throw at full arm speed
Focus on:
- Balance
- Timing
- Repeatable rhythm
This drill helps players who rush, pause, or lose flow in their motion.who rush, pause, or lose flow in their motion.
🛠️ Tools That Help
You don’t need fancy gear, but if you love gadgets, these can accelerate progress:
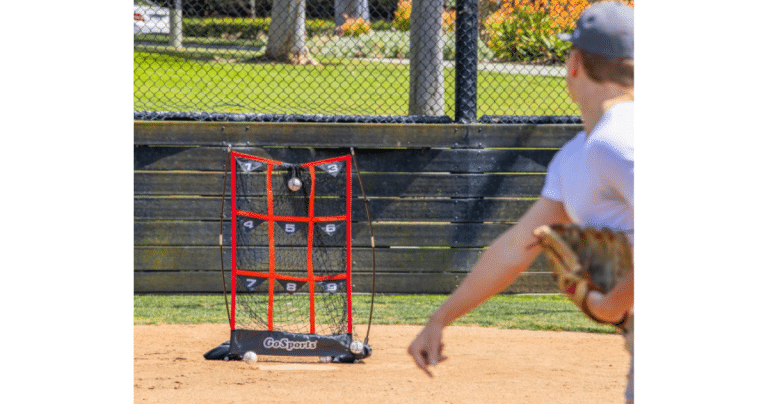
- Throwing nets: Isolate reps without chasing balls
- Weighted plyo balls: Build muscle memory (only with proper coaching)
- Pitching targets: Sharpen command and accuracy
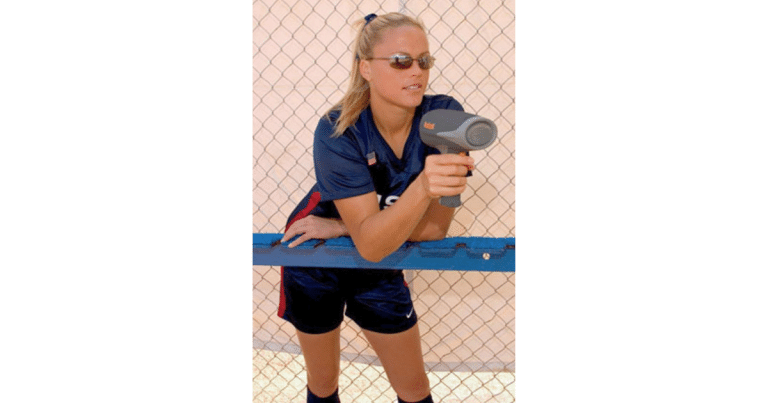
- Tripod + phone: Instant replay = instant feedback
- J-bands: Essential for warm-ups and long-term arm care
Pair these tools with just 10–15 minutes of focused work, a few times a week. Keep it light. Keep it fun. Keep it smart.
👀 Want gear suggestions? Don’t miss our guide:
5 Best Pitching Tools for Youth Players →
Frequently Asked Questions
What age should kids start working on mechanics seriously?
Ages 8–10 is a great time to start reinforcing good habits, but even tee-ballers benefit from learning proper arm paths.
What red flags should coaches and parents be watching for?
Any sudden drop in velocity or change in throwing behavior. If a player starts favoring one side or complains of tightness, pull back immediately and reassess.
How often should a kid practice throwing mechanics?
2–3 times a week is plenty for younger players. Focus on quality reps, not long sessions.
Should I hire a pitching coach?
If your child is seriously struggling with mechanics, a coach can help get them back on track and prevent injury.
Are weighted balls safe for young arms?
Only under guidance. They can help with strength and movement patterns but should always be paired with proper warm-up and supervision.
🧢 Final Thought
Every kid’s arm is different. What matters most is building habits that are safe, repeatable, and confidence-boosting.
Whether you’re starting from scratch or just fine-tuning form, a few smart cues, the right drills, and a little consistency can go a long way.
Stay positive. Stay curious. And enjoy the ride.
